
Travel mini diaries
Use a place, a detail and a cafe moment instead of three nearly identical wide shots.
A little space for your photos
A little collection of memories. Turn three or four photos into a keepsake strip.
Compare real editor outputs made from the same source set. Free choices include distinctive styles; membership adds more curated compositions and finishes.
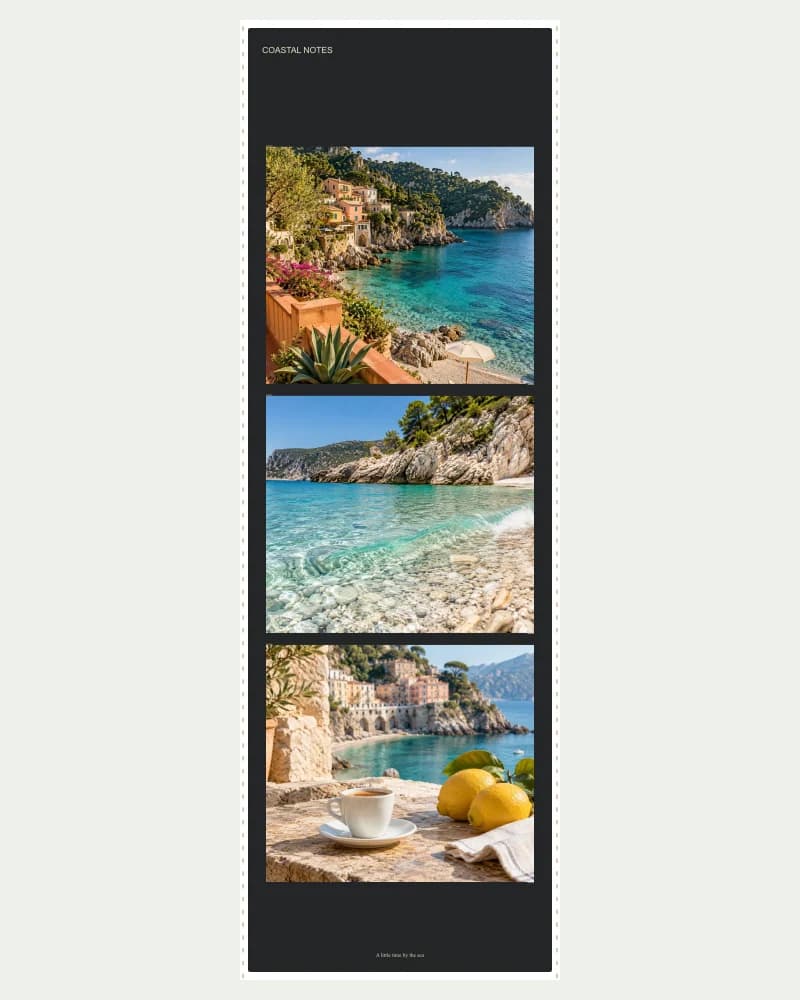
Classic film perforations and contact-sheet corner marks.
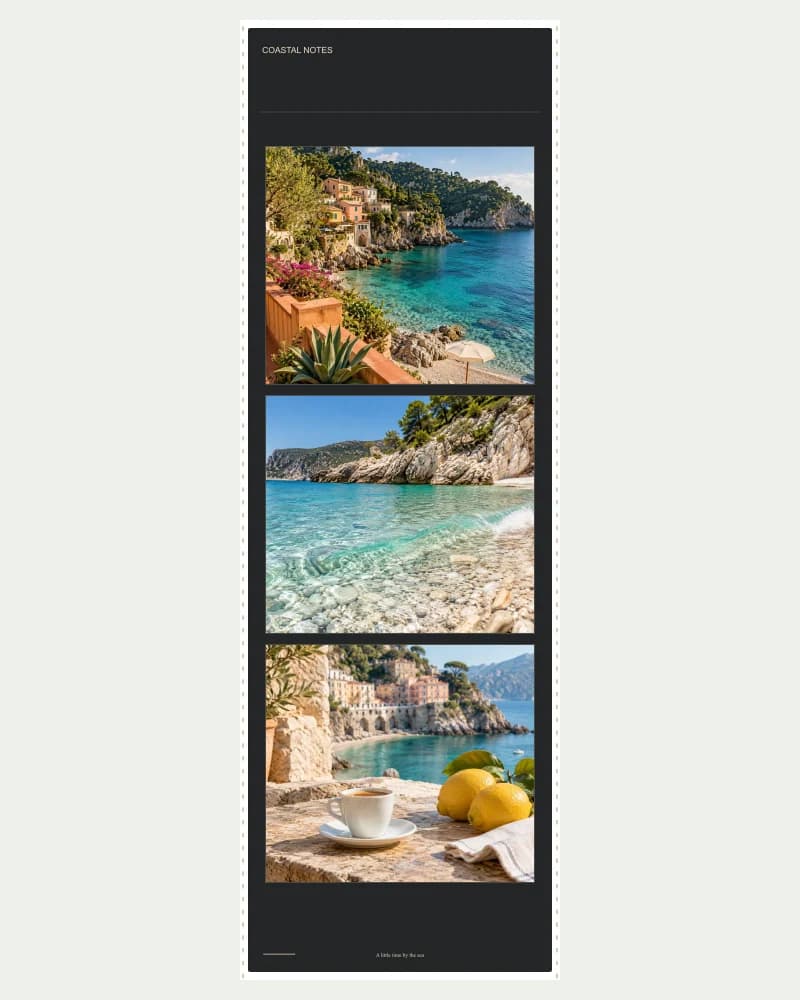
Dark film stock with warm frame outlines and a cinematic title area.
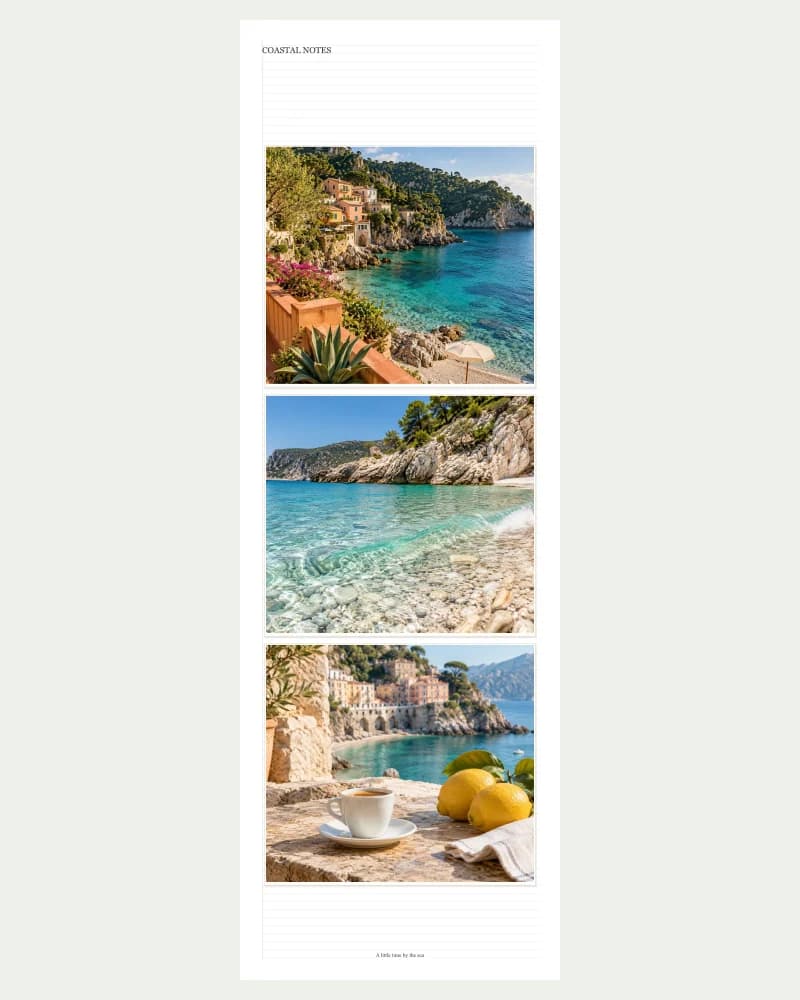
A ruled journal page with a margin line and individually mounted photographs.
Demonstration uses AI-generated travel images; layouts are rendered by this tool.
Try layouts in the editorFree: crop, swap, spacing, corners, custom dimensions, colors and selected designs. Sign in for watermark-free downloads of free content.
Every active Basic, Premium, Ultimate or Max plan includes all member layouts, custom row-and-column grids, styled frames and themed backgrounds, with watermark-free previews and downloads. No tool credits are deducted.
Every preset photo count has free and member designs. Setting custom rows and columns is an additional member benefit. Credit packs alone do not unlock member benefits.
A finished layout, using your own pictures
Turn three or four existing pictures into a vertical photo strip for a travel diary, a friendship keepsake or a small sequence of AI-generated scenes. A strip works best when the pictures belong together and read from top to bottom. This is an image layout tool, not a camera booth or a timed capture session.
Choose the frame count that matches your sequence.
Swap positions and check each crop directly in the strip.
Export the strip as a single file for sharing or further design work.
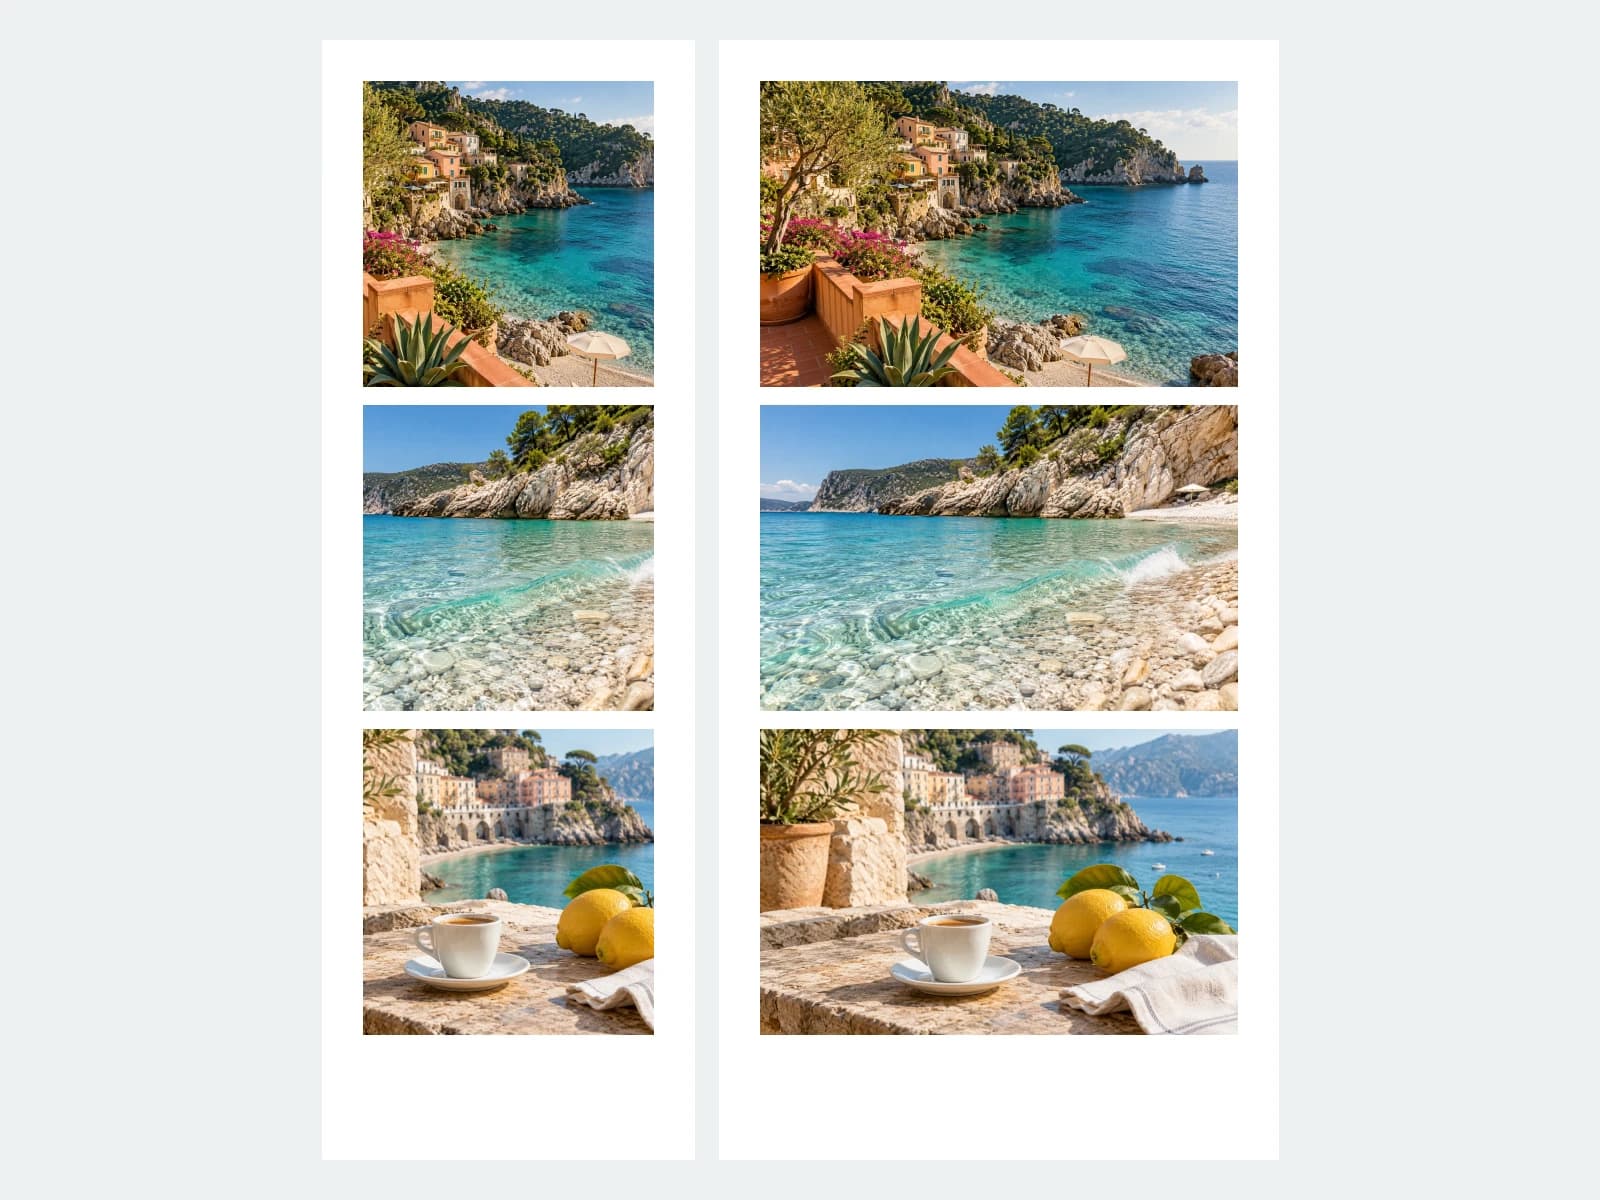
Start with the wider setting, move to an interesting detail and finish with a small moment. Three photos are often enough to suggest a day without crowding the design. If you use four, make sure each one adds something different. Swap the selected photo with the next one to change the rhythm of the strip.
Try this tool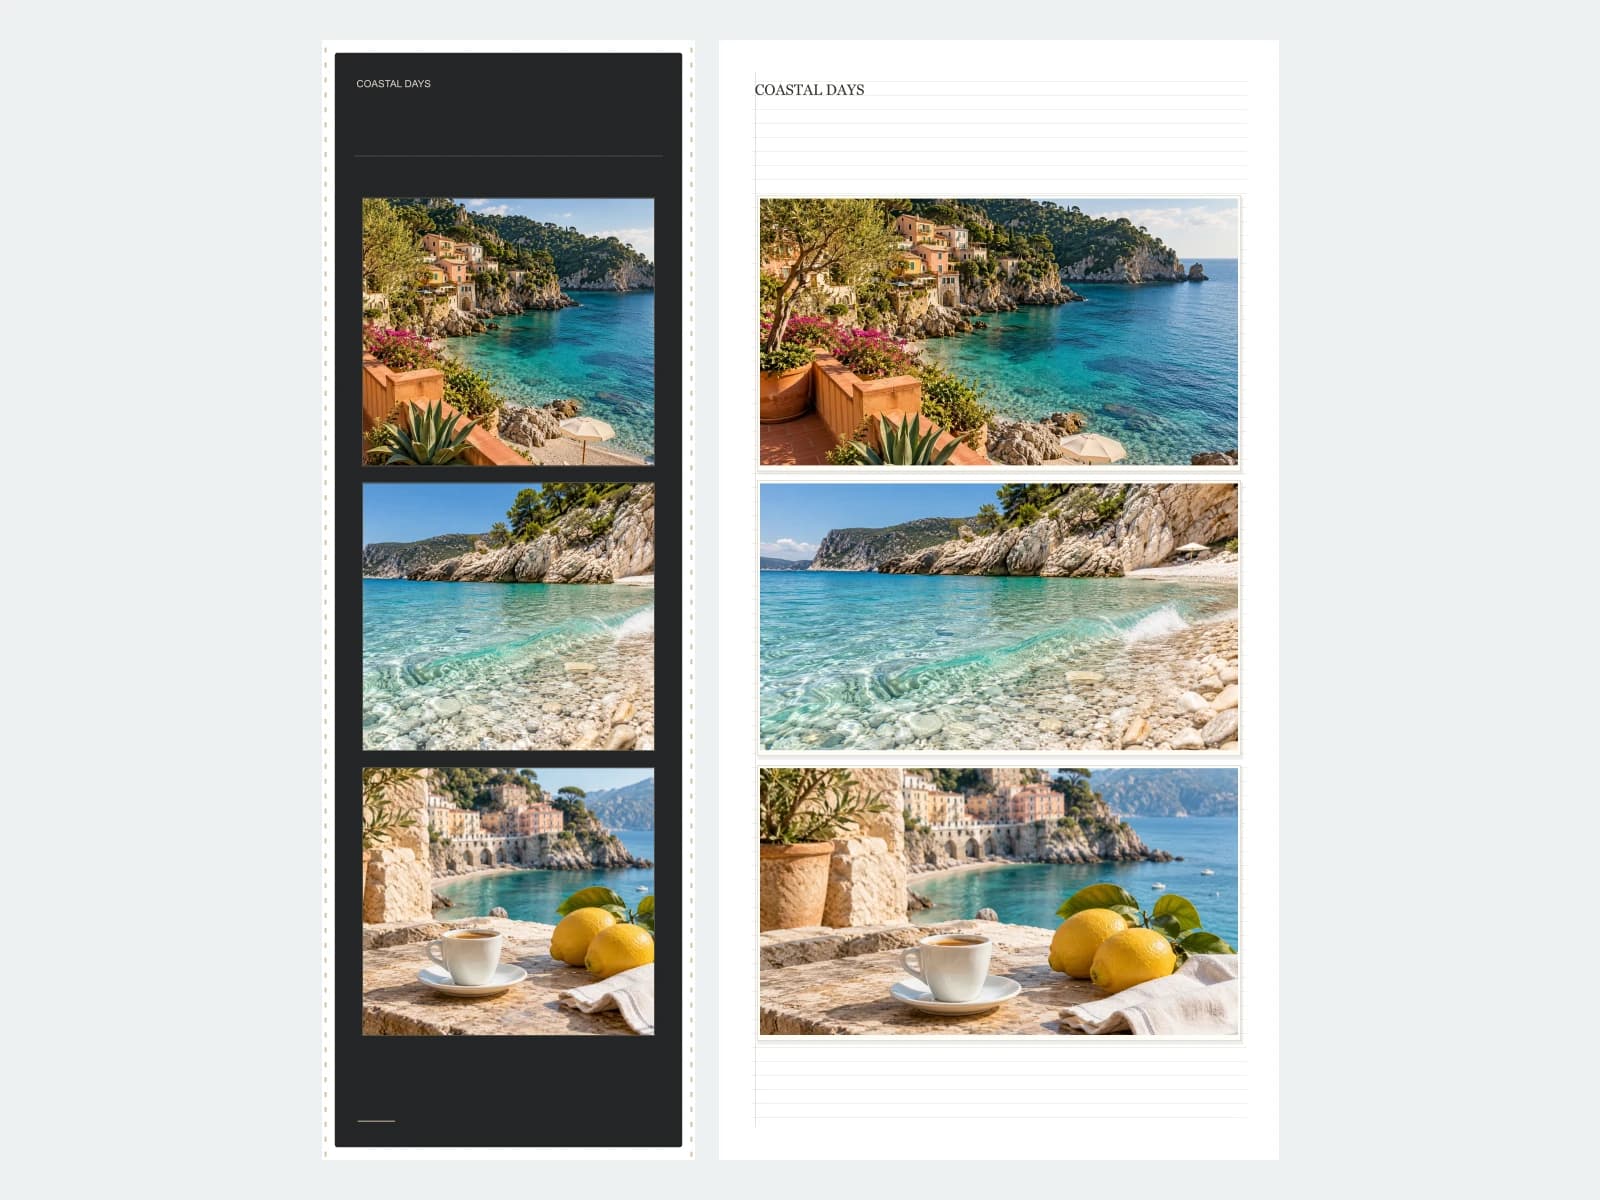
Begin with a free classic strip when you want the photos to do most of the talking. Selected member designs add film or paper styling around the same source files. The source photos are not turned into newly generated scenes; the styling is applied by the layout engine. Add a short caption or date to make the set easier to remember.
Try this toolExample assembled with this editor. Travel source photos are AI-generated illustrations; layouts and borders are rendered by the tool.
Use a place, a detail and a cafe moment instead of three nearly identical wide shots.
Arrange a few selected moments with a short date. Check every person remains inside the final crop.
Present related generated frames in order. Review character and lighting consistency in the originals first.
Upload a small, related set. Use original image files instead of a screenshot of an existing collage.
Pick a three- or four-frame layout, adjust spacing and crop positions, then add a short caption if needed.
Check the whole strip at the size you plan to show it. Select an output format and sign in to download free content, or use membership for premium frames.
AI image generation is useful for creating a scene, exploring a style or inventing a visual. Combining finished image files into a specific layout is a different task: you may need a specific number of photos, the same face in every source, equal gutters and a caption you can edit without generating the whole image again.
ChatGPT can attempt collage-like images and may also assemble files with code. This comparison concerns generating a new picture from a prompt, not every capability of a chat assistant. Image models can still struggle with precise placement in structured compositions; a layout editor gives you direct control over where existing files go. Read the image-model composition limitations
| What you need | Generate a new collage image | Arrange files in this editor |
|---|---|---|
| Keep the selected source pictures | A generative edit may reinterpret details. | Place the supplied files into slots; no generative redraw. Cropping and resizing still apply. |
| Control count, position and spacing | Describe the layout, then check whether the result follows it. | Choose a known layout, swap positions and set the gap directly. |
| Change a caption or one crop | Another generation or edit may be needed. | Edit the caption or crop control while keeping the other slots. |
| Understand the cost | Generation depends on the service and model pricing. | These photo tools use no AI credits. Premium designs are an existing subscription benefit. |
No need to replace the image model you already use. Keep the pictures you like, then combine them into one deliverable. You do not need to write prompts for margins, learn layers or connect your ChatGPT account.
Use CreateVision or another image service to create your pictures. Review faces, text and details before arranging them. Image generation follows its own pricing.
Create imagesFor CreateVision results, use the collage action or My creations. For pictures made with ChatGPT or another service, download the image files first, then upload them here.
Open my creationsArrange the photos, check the crop in every slot, add labels if needed and choose the output size. Sign in for a free-content download, or use an active subscription for premium designs.
Remove near-duplicates from your selection before uploading. A shorter, stronger sequence is easier to read.
A date or two-word location works better than a long paragraph in a narrow strip.
A film-style layout does not guarantee a standard booth-strip print size. Confirm the physical size with your printer.
No. Upload three or four existing photos, or select available CreateVision images. The tool arranges those files into a strip. It does not open a webcam, run a countdown or capture a burst of photos.
Yes. Import the image files and choose a suitable strip layout. The tool does not correct differences between generated characters or scenes, so review the source set for consistency before arranging it.
The current export is one complete strip image. It is not a frame-splitting or animation tool. Keep your original files if you also need the individual photos. For more than four pictures in one layout, use Photo Collage Maker.
Yes. Download them as supported image files, then upload them here. This does not connect to your external account or regenerate the pictures. CreateVision images can also be selected from My creations when their source files remain available.
No generative redraw is used. The editor crops, scales, rotates and places your input images. Export encoding can change pixels, and an existing watermark stays part of the input. Review source-image rights and any AI-service usage terms before publishing.
You can upload, edit and preview without an account. Sign in to download a design containing only free layouts and backgrounds without a platform watermark. Selected premium layouts and materials require an active paid subscription for a clean preview and download.
No extra tool plan or AI credits are required. Active Basic, Premium, Ultimate and Max subscriptions include all member layouts, styled frames, themed backgrounds and custom row-and-column grids. Credit packs and single-image original purchases do not unlock these benefits.
Free editing runs in your browser. Premium previews and exports use encrypted temporary cloud files with 24-hour access expiry and scheduled physical cleanup. Local drafts stay on this device for up to seven days. A fresh tool visit starts empty; use Resume previous draft or the same draft URL to continue your work.
A low-resolution source, a heavy crop or strong JPG/WebP compression can soften detail. Start with the original file rather than a screenshot, keep important subjects inside the crop, and avoid exporting far beyond the input resolution. If the source itself needs enhancement, use a separate enhancement tool before arranging it.
Start with your own photos and a free layout. Adjust the result directly; no prompt-writing or layer-editing experience is needed.
Try this toolA collage, a comparison and a border solve different jobs. Keep your workflow simple by opening the tool that matches the result you need.
Arrange 2–16 pictures with presets, or customize grid rows and columns as a member.
Side by Side PhotosCombine exactly two photos horizontally or vertically.
Before and After Photo MakerPlace two versions together with editable comparison labels.
Add Border to PhotoFrame one photo with a clean border, color or member design.