
Travel and everyday stories
Bring one wide scene and two or three details together. Keep the horizon and main subject away from the crop edges.
A little space for your photos
Bring your favorite photos together. Find your layout, make it yours, and keep the moment.
Compare real editor outputs made from the same source set. Free choices include distinctive styles; membership adds more curated compositions and finishes.
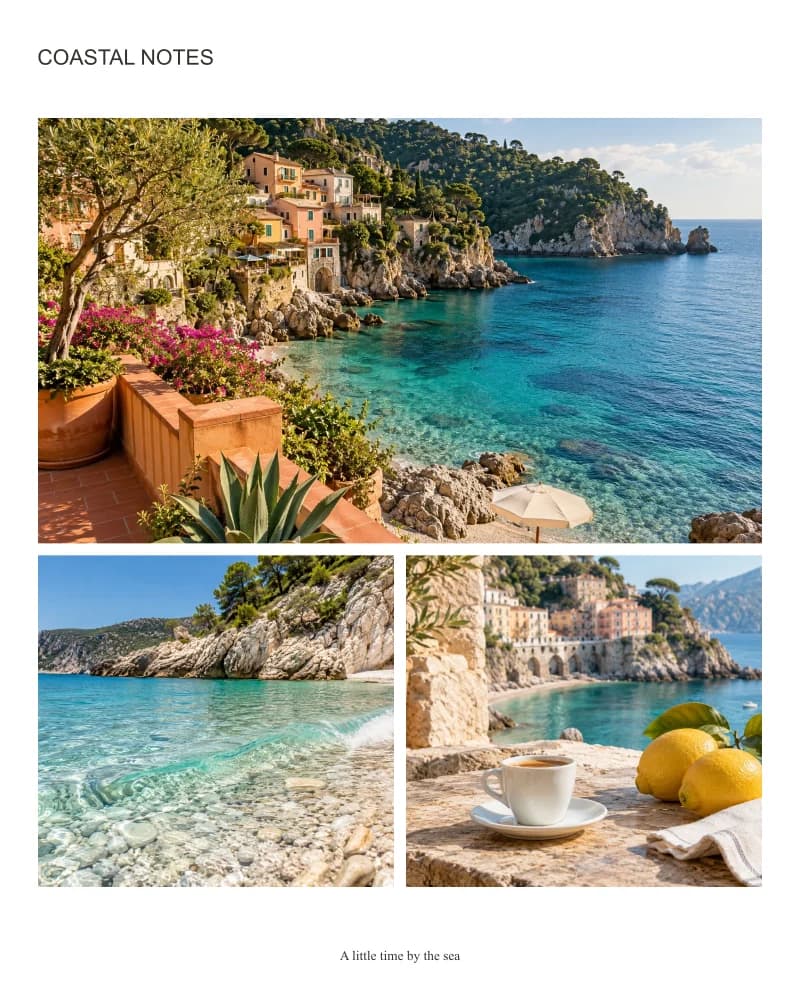
A clean layout with direct control over crop, spacing and color.
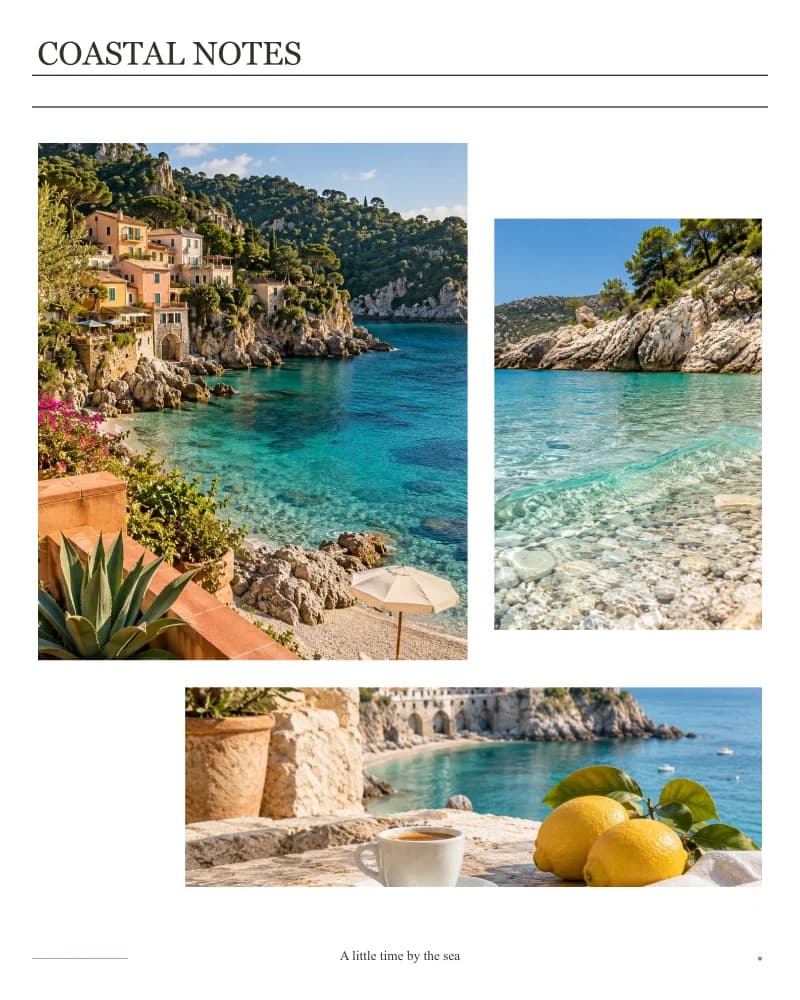
Editorial hierarchy with a serif heading, fine rules and a quiet footer.
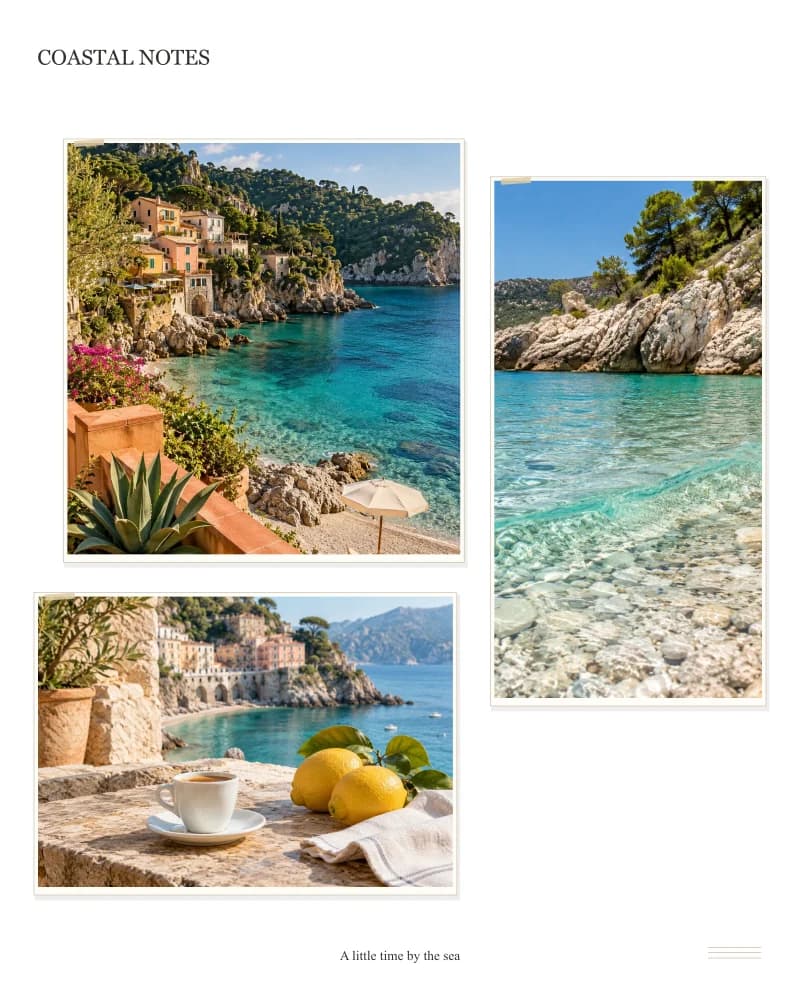
Paper photo mounts, soft offset shadows, tape details and postal rules.
Demonstration uses AI-generated travel images; layouts are rendered by this tool.
Try layouts in the editorFree: crop, swap, spacing, corners, custom dimensions, colors and selected designs. Sign in for watermark-free downloads of free content.
Every active Basic, Premium, Ultimate or Max plan includes all member layouts, custom row-and-column grids, styled frames and themed backgrounds, with watermark-free previews and downloads. No tool credits are deducted.
Every preset photo count has free and member designs. Setting custom rows and columns is an additional member benefit. Credit packs alone do not unlock member benefits.
A finished layout, using your own pictures
Put 2–16 related pictures in one image for a trip recap, a product detail board or a selection of AI creations. Browse presets by photo count, with free and member designs together in each group. Pick a balanced grid or a clear focal image; members can also set custom rows and columns. Source photos stay in the tray when a new layout has fewer slots.
Use the 2–6 shortcuts or More for 7–16 photos. All preset counts include free choices.
Select a slot to zoom, move the crop, rotate, flip or swap with the next photo.
Free and member presets share photo counts. Membership adds selected designs and the ability to set custom rows and columns; it is not required just for having more photos.
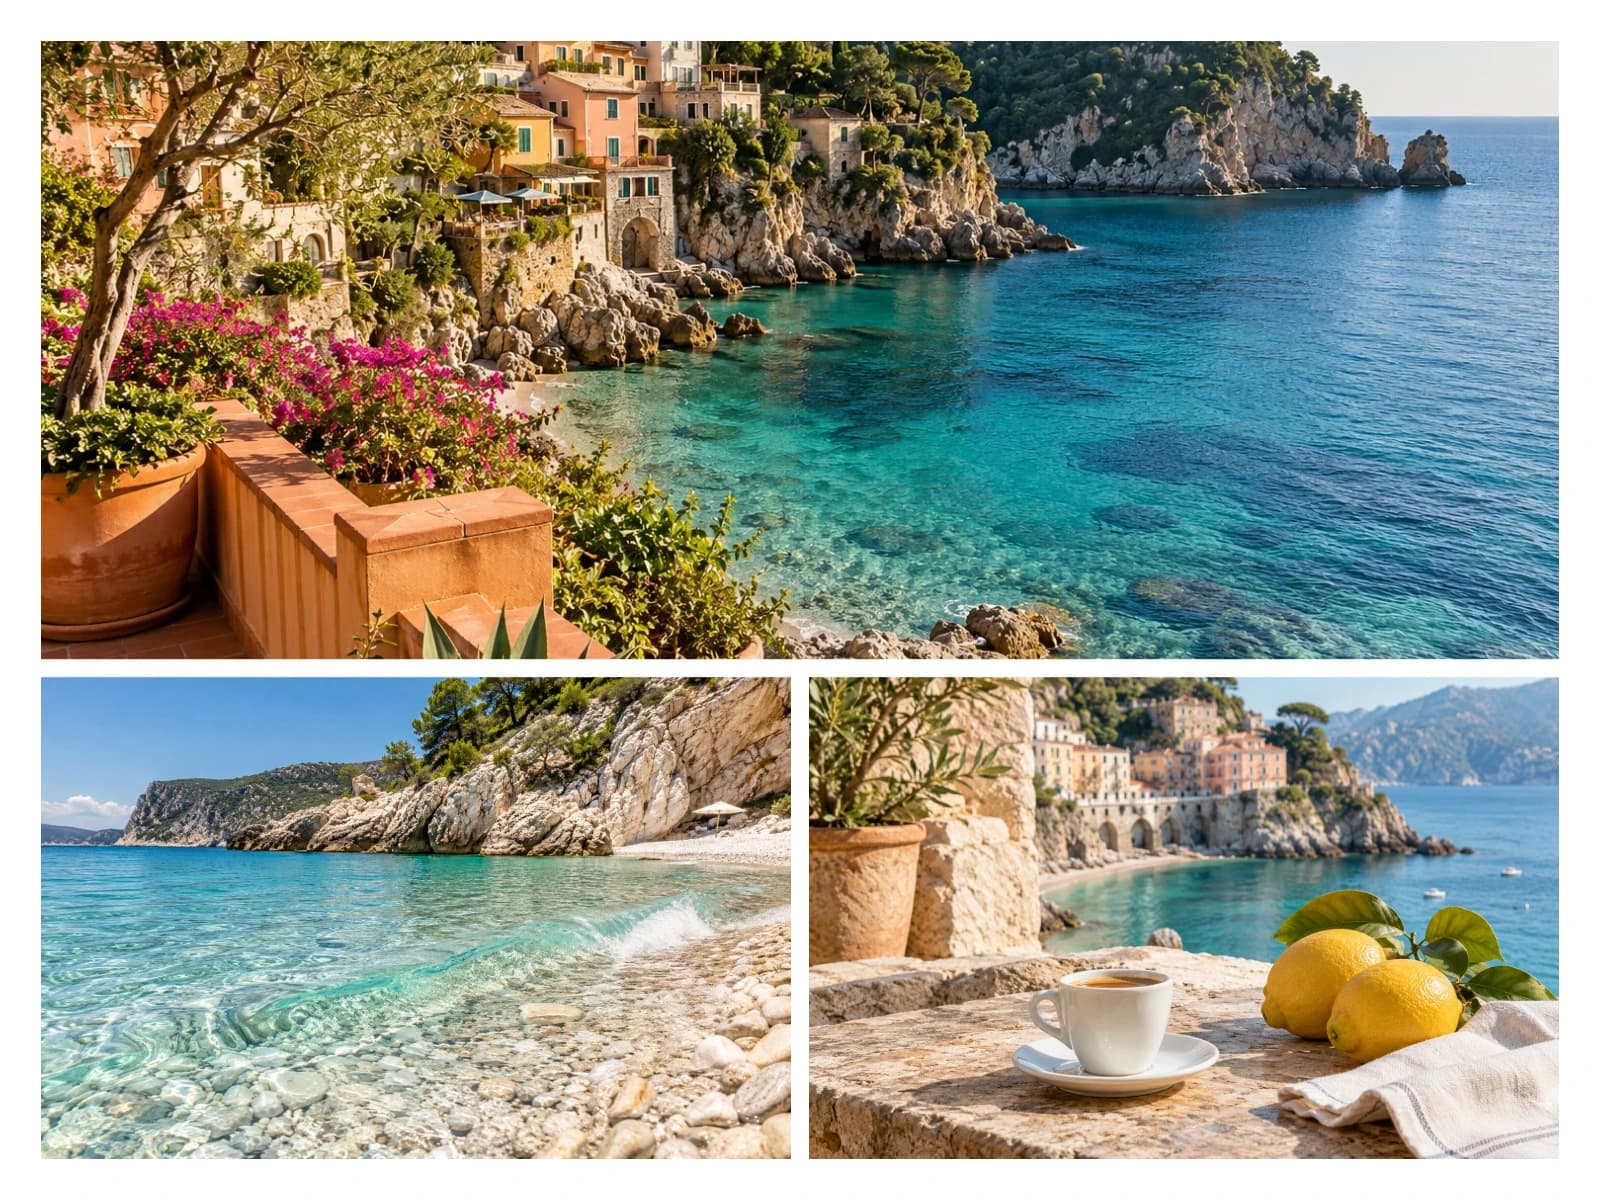
A coast, a beach detail and a cafe moment can belong to one travel story. Use a consistent theme or color palette instead of mixing unrelated pictures just to fill the grid. Start with three or four images, choose the main view, then give the smaller details supporting roles. You can change outer margins and gutters without describing the design to a model.
Try this tool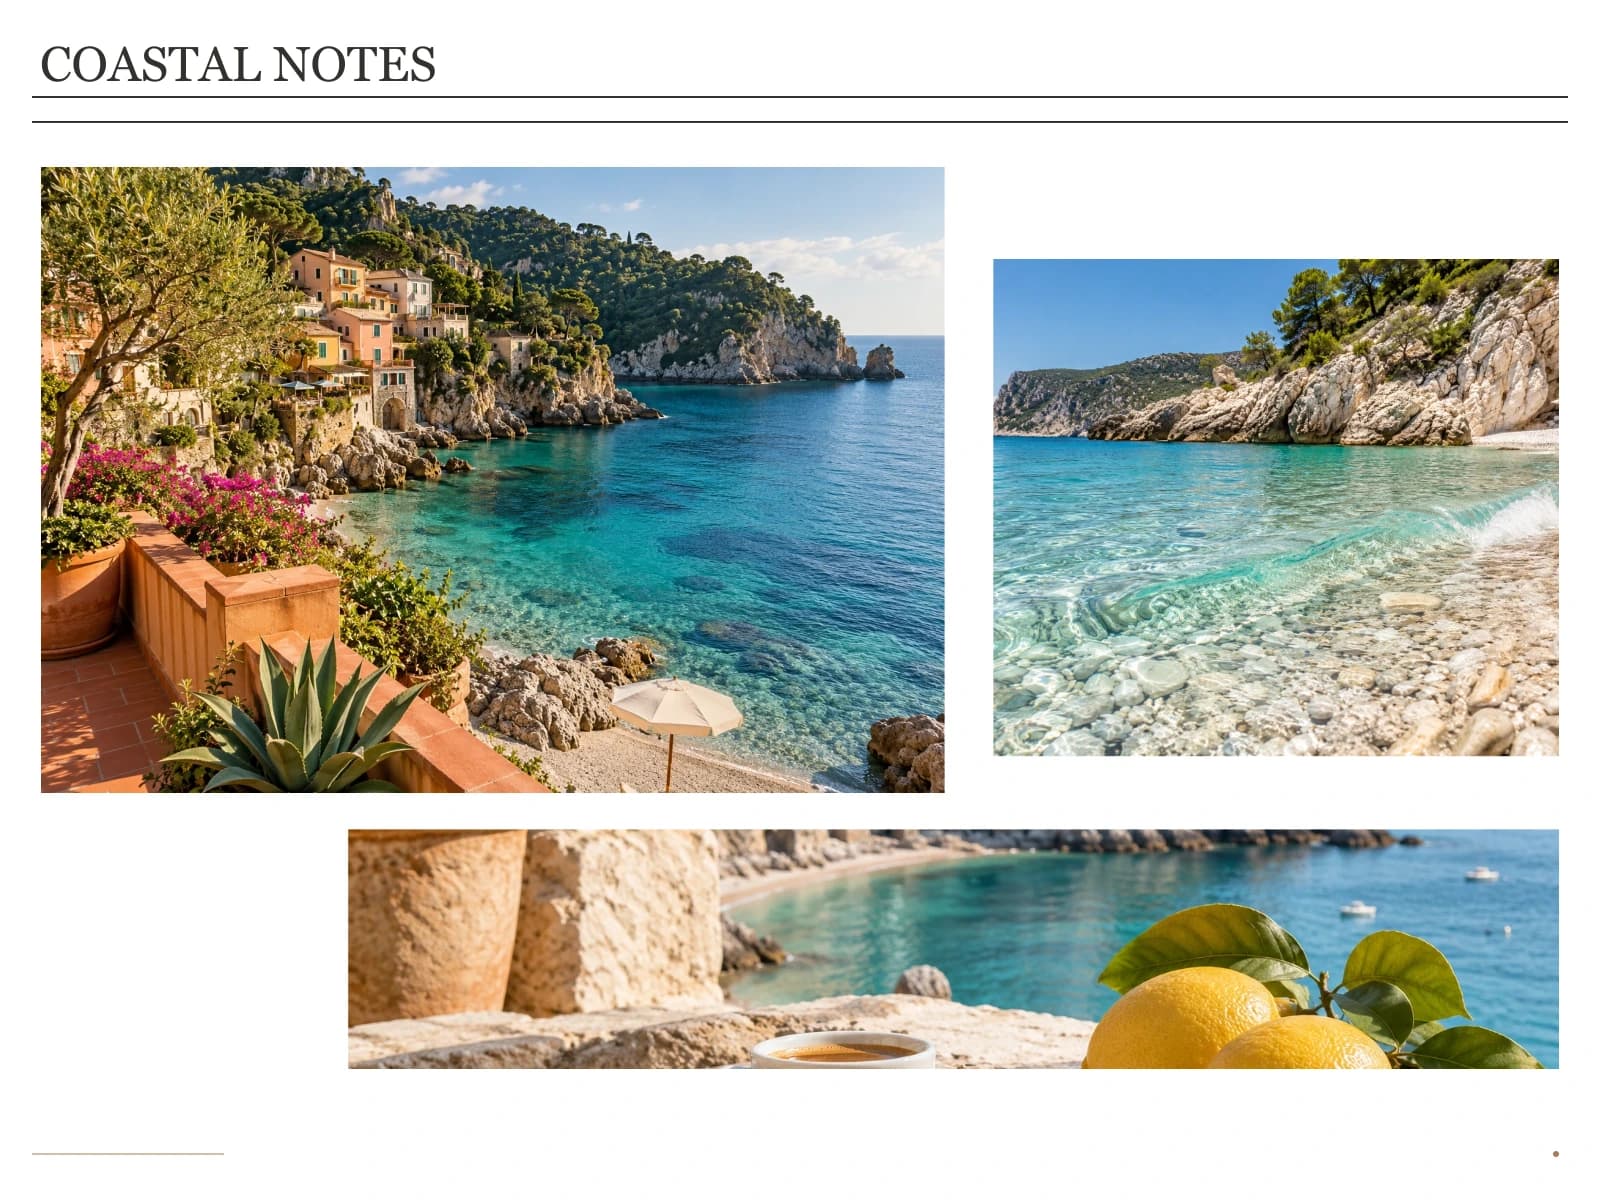
Have several portraits, product concepts or storyboard frames made with an image model? Import the finished files and choose their positions yourself. Switching from a simple grid to a member design changes the layout rather than asking a model to recreate the faces or objects. Check each crop: arranging an image is not the same as keeping every edge visible.
Try this toolExample assembled with this editor. Travel source photos are AI-generated illustrations; layouts and borders are rendered by the tool.
Bring one wide scene and two or three details together. Keep the horizon and main subject away from the crop edges.
Pair the full product with material, color or packaging views. Keep the product scale readable in the smaller cells.
Present several generated directions in one file for discussion. Add a short title rather than asking the model to render the board again.
Upload originals from your device or select your available CreateVision images in My creations. Keep every file within the supported upload limits.
Jump to a photo-count group, compare the mixed free and member presets, then adjust each crop. Active members may select Custom, set rows and columns within 16 slots, and apply the grid. Set spacing, background and any caption afterward.
Choose PNG, JPG or WebP and check that all slots are filled. Sign in for free content, or use an active subscription when the design includes member items.
AI image generation is useful for creating a scene, exploring a style or inventing a visual. Combining finished image files into a specific layout is a different task: you may need a specific number of photos, the same face in every source, equal gutters and a caption you can edit without generating the whole image again.
ChatGPT can attempt collage-like images and may also assemble files with code. This comparison concerns generating a new picture from a prompt, not every capability of a chat assistant. Image models can still struggle with precise placement in structured compositions; a layout editor gives you direct control over where existing files go. Read the image-model composition limitations
| What you need | Generate a new collage image | Arrange files in this editor |
|---|---|---|
| Keep the selected source pictures | A generative edit may reinterpret details. | Place the supplied files into slots; no generative redraw. Cropping and resizing still apply. |
| Control count, position and spacing | Describe the layout, then check whether the result follows it. | Choose a known layout, swap positions and set the gap directly. |
| Change a caption or one crop | Another generation or edit may be needed. | Edit the caption or crop control while keeping the other slots. |
| Understand the cost | Generation depends on the service and model pricing. | These photo tools use no AI credits. Premium designs are an existing subscription benefit. |
No need to replace the image model you already use. Keep the pictures you like, then combine them into one deliverable. You do not need to write prompts for margins, learn layers or connect your ChatGPT account.
Use CreateVision or another image service to create your pictures. Review faces, text and details before arranging them. Image generation follows its own pricing.
Create imagesFor CreateVision results, use the collage action or My creations. For pictures made with ChatGPT or another service, download the image files first, then upload them here.
Open my creationsArrange the photos, check the crop in every slot, add labels if needed and choose the output size. Sign in for a free-content download, or use an active subscription for premium designs.
For mixed subjects, use one larger photo and smaller supporting views. For a comparison of equal options, use an even grid.
Wide group photos can lose people in tall cells. Try another layout or reduce the zoom before downloading.
A short date, collection name or location is easier to read than a paragraph, especially on a phone.
Choose preset layouts for 2–16 photos. Every preset count includes free and member designs; a larger count alone does not require a subscription. Setting your own rows and columns is a separate member benefit, with 2–16 slots in total. The source tray retains up to 16 photos.
Changing layouts keeps the source photos in the project tray. Only the selected layout’s slots are displayed. You can reuse a tray photo in a different slot, and undo or redo recent layout edits. Deleting a photo from the source tray is a separate action.
Slots fill their available area, so images with a different aspect ratio may be cropped. Adjust the crop position and zoom, or choose a layout and canvas ratio closer to your originals. The current editor does not promise an automatic no-crop fit mode.
Yes. Download them as supported image files, then upload them here. This does not connect to your external account or regenerate the pictures. CreateVision images can also be selected from My creations when their source files remain available.
No generative redraw is used. The editor crops, scales, rotates and places your input images. Export encoding can change pixels, and an existing watermark stays part of the input. Review source-image rights and any AI-service usage terms before publishing.
You can upload, edit and preview without an account. Sign in to download a design containing only free layouts and backgrounds without a platform watermark. Selected premium layouts and materials require an active paid subscription for a clean preview and download.
No extra tool plan or AI credits are required. Active Basic, Premium, Ultimate and Max subscriptions include all member layouts, styled frames, themed backgrounds and custom row-and-column grids. Credit packs and single-image original purchases do not unlock these benefits.
Free editing runs in your browser. Premium previews and exports use encrypted temporary cloud files with 24-hour access expiry and scheduled physical cleanup. Local drafts stay on this device for up to seven days. A fresh tool visit starts empty; use Resume previous draft or the same draft URL to continue your work.
A low-resolution source, a heavy crop or strong JPG/WebP compression can soften detail. Start with the original file rather than a screenshot, keep important subjects inside the crop, and avoid exporting far beyond the input resolution. If the source itself needs enhancement, use a separate enhancement tool before arranging it.
Start with your own photos and a free layout. Adjust the result directly; no prompt-writing or layer-editing experience is needed.
Try this toolA collage, a comparison and a border solve different jobs. Keep your workflow simple by opening the tool that matches the result you need.
Combine exactly two photos horizontally or vertically.
Photo Strip MakerArrange three or four images in a vertical keepsake strip.
Before and After Photo MakerPlace two versions together with editable comparison labels.
Add Border to PhotoFrame one photo with a clean border, color or member design.